iBridges GUI#
This notebook shows how to download files and directories from the UNLOCK FAIR Data Platform using iBridges. It focuses on demonstrating usage of the Graphical User Interface (GUI).
iBridges GUI documentation:
https://ibridges-for-irods.github.io/iBridges-GUI
GitHub repository:
iBridges-for-iRODS/iBridges-GUI
The iBridges Graphical User Interface is the most user-friendly and intuitive way to interact with your UNLOCK FDP storage in a fairly powerful manner. It is available for most operating systems (Windows, Mac, and Linux).
Installation#
To install the iBridges GUI, you can download a binary file from:
(NOTE, this currently an experimental feature, and not generally recommended)
iBridges-for-iRODS/iBridges-GUI
Alternatively, install the GUI through pip:
Make sure Python version 3.8+ is installed. If you are unfamiliar with Python, install Anaconda.
You can then install iBridges using pip in a terminal:
%pip install ibridges
Then, install the iBridges GUI:
%pip install ibridgesgui
Now, run the iBridges GUI from the command line using the command ibridges-gui.
Authentication#
iBridges (like all iRODS clients) requires a configuration file, which ensures that your connection is encrypted and that you do not need to provide all access information each time you connect to the UNLOCK FDP. This file is typically stored in your home directory under a folder called .irods:
OS |
Path to |
|---|---|
Windows |
|
macOS |
|
Linux |
|
To create the configuration file, click on Configure, and then Add configuration. In the drop-down menu you can find existing iRODS configuration files, which can be checked and edited in this window.
Click New Config and edit the fields accordingly:
“irods_authentication_scheme”: “pam_password”
“irods_default_resource”: “hot_1”
“irods_home”: “/”
“irods_host”: “data.m-unlock.nl”
“irods_user_name”: “FILL_IN_YOUR_SRAM_USERNAME_HERE”,
“irods_zone_name”: “unlock”
Alternatively, copy over the following configuration and fill in your SRAM username:
{
    "irods_authentication_scheme": "pam_password",
    "irods_client_server_negotiation": "request_server_negotiation",
    "irods_client_server_policy": "CS_NEG_REQUIRE",
    "irods_default_hash_scheme": "SHA256",
    "irods_default_resource": "hot_1",
    "irods_encryption_algorithm": "AES-256-CBC",
    "irods_encryption_key_size": 32,
    "irods_encryption_num_hash_rounds": 16,
    "irods_encryption_salt_size": 8,
    "irods_home": "/",
    "irods_host": "data.m-unlock.nl",
    "irods_port": 1247,
    "irods_ssl_verify_server": "hostname",
    "irods_user_name": "FILL_IN_YOUR_SRAM_USERNAME_HERE",
    "irods_zone_name": "unlock"
}
Use the Check button to validate your configuration file. If your configuration file is not correct the program will guide you to add the required fields. Once all checks have passed, use the Save As button to save your environment file. Do not change the default location, and optimally save the file under the name irods_environment.json.
Connection#
Click Connect, then Connect to iRODS and fill in your SRAM token.
If you saved your file under a different name (but still in the right folder), use the dropdown menu to choose your iRODS environment file.
The iBridges GUI supports three main functionalities:
browse through storage collections
upload, download, or synchronize data
manipulate metadata and permissions
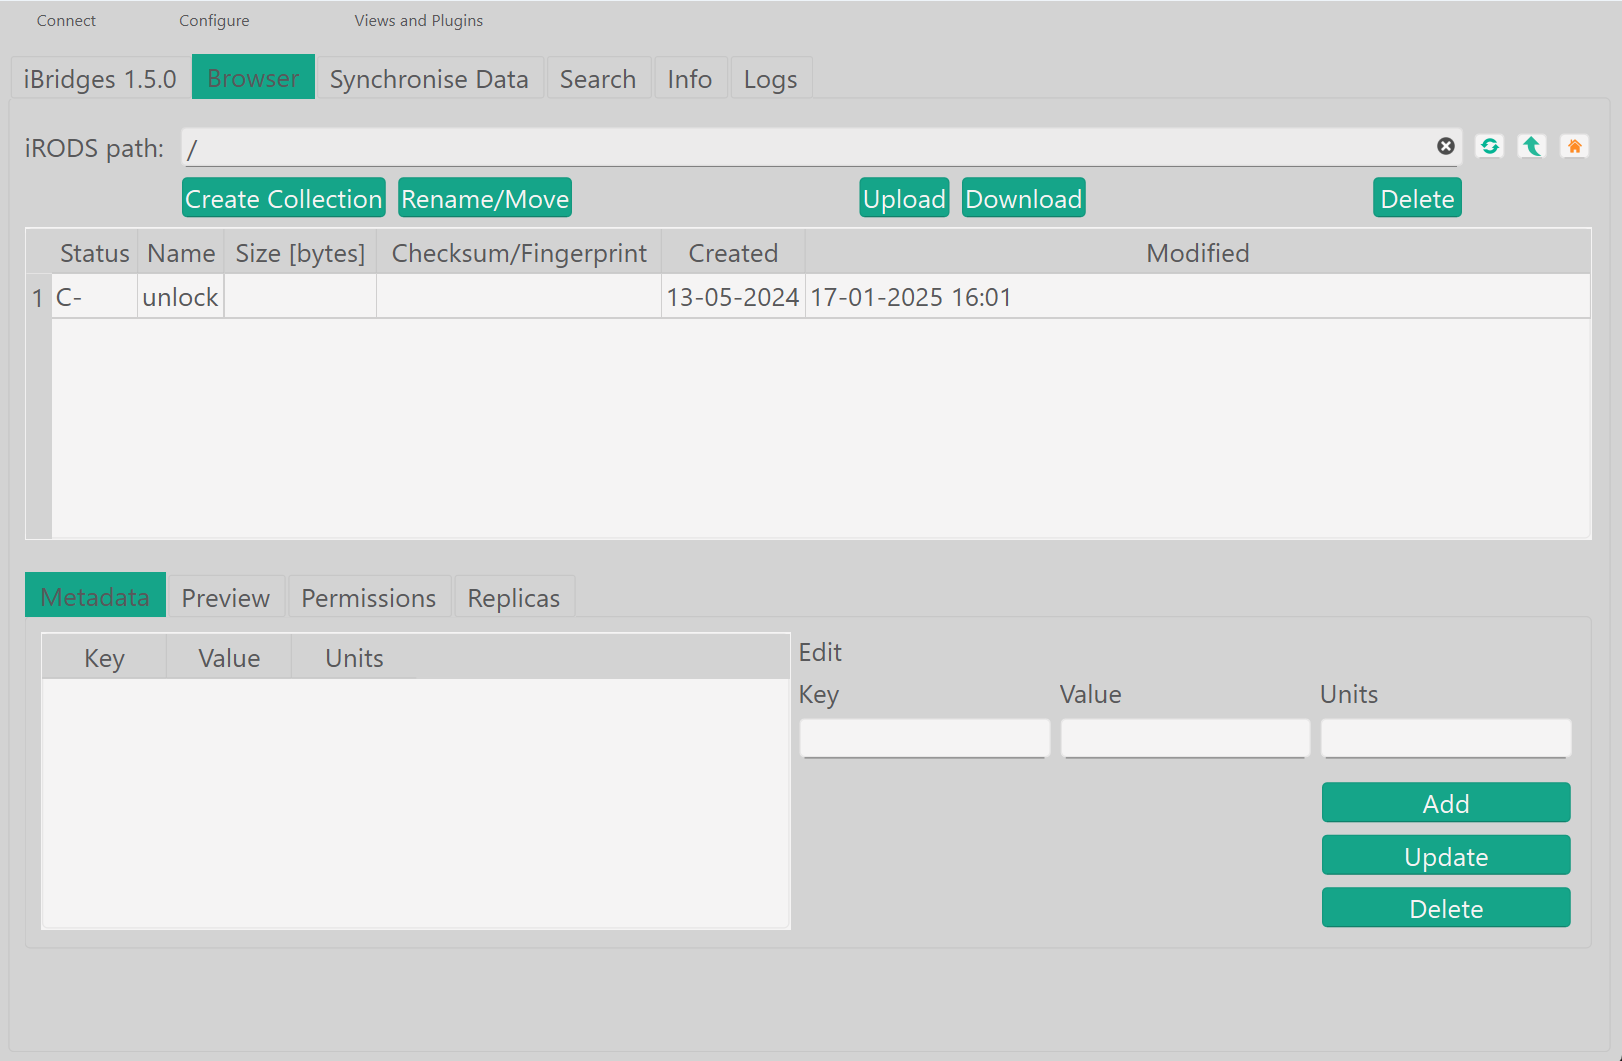
Apart from the Browser tab for permission, data and metadata manipulation, there is a dual-pane Synchronise Data tab, as well as a Search, Info, and Logs tab. When searching data, (a selection of) results can be downloaded. The usage of the iBridges GUI should be relatively straightforward, but if anything remains unclear, refer to the user documentation:
https://ibridges-for-irods.github.io/iBridges-GUI/docs/userdoc.html